A simple calculator program among built Circuit Diagram Wire the LCD to the microcontroller, ensuring proper alignment of data pins. Use a potentiometer to adjust the contrast of the LCD display. Power the Microcontroller: Connect your microcontroller to your computer or a power source. Writing the Code. Open your Arduino IDE or Raspberry Pi IDE. Write or upload a calculator program. This PIC microcontroller tutorial provides a simple calculator implementation for PIC16F877 microcontroller. This is a simple one digit [1] calculator which implements only 4 functions addition(+), subtraction(-), multiplication(x) and division(/). The code for PIC16F877 is written in C language using MPLAB with HI-TECH C compiler. A calculator is a simple and essential tool in everyday life, and it can also be a fun and educational project to build one yourself. One way to do this is by using an ATmega32 microcontroller, which is a powerful and versatile chip that can be programmed to perform a wide range of functions.

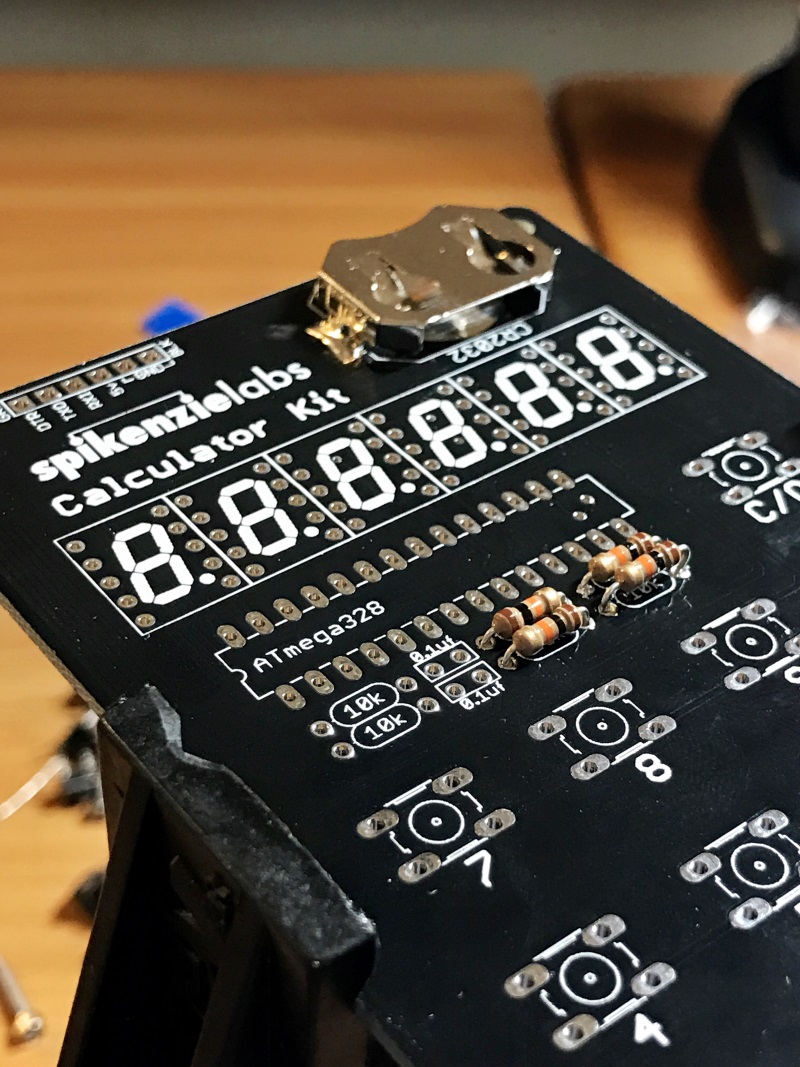
Calculator with Pic 16f877 microcontroller is a comprehensive project. Comprehensive in the way that code is lengthy and logical. It will be hard for newbies to understand the code and circuit components interface with pic microcontroller. I will try to explain each and every thing about code and circuit thoroughly. The project covers all the aspects… In this tutorial i am going to build a simple two digit calculator with 8051(89c51,89c52) microcontroller. Calculator takes two single digits and an operator as input and produces output. Input is taken by 4×4 numeric keypad and output is displayed on 16×2 character lcd. Diy calculator can perform four operations addition, subtraction, negation & division.… The ATmega32 microcontroller's adaptability and robust capabilities allow programming for diverse functionalities, rendering it an excellent option for constructing a calculator. With dedicated time and effort, you can create a functional calculator capable of handling basic arithmetic operations, providing a hands-on learning experience in

How to make(build) a calculator using Pic microcontroller Circuit Diagram
Moreover, it will always reset when you try to calculate new value. As its a simple calculator, so its only limited to 1 digit, means it will only apply the operation on single digit input like 2+3 but it won't work on more than 1 digit like 12 + 13. I will soon design a more complicated calculator but for this one its only limited to single digit. Let's create simple calculator using microcontroller. I will be using Microchip PIC16F690, LCD Display (1602A-1), and "4×4 Universal 16 Key Keypad For Arduino". We will start with creating simulation with Proteus and then create real device. But let's start with creating new project in MPLAB X IDE.